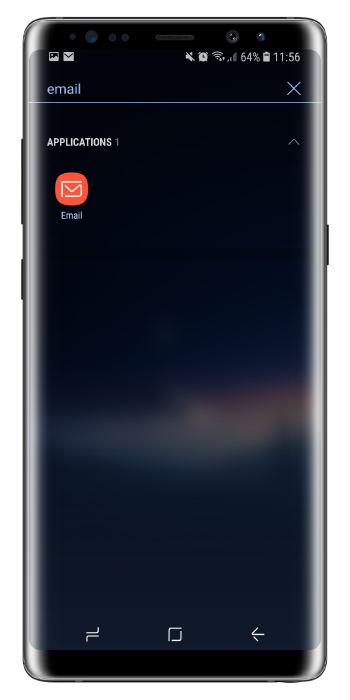
1.Access The Settings On Your Android Device
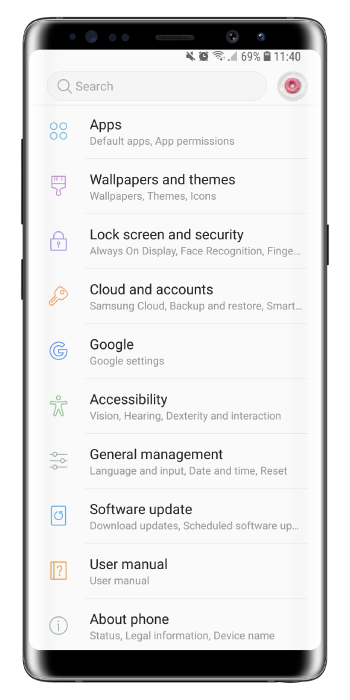
Access the settings menu on your Android device and access the accounts menu. This may be in different sections depending on which phone you have but should not have an issue finding it.
2. Add A New Account
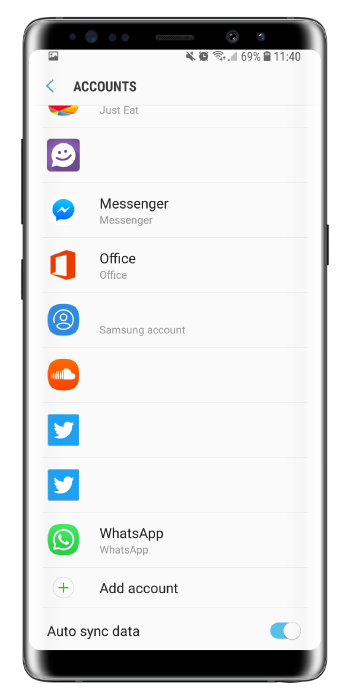
When you have access to the accounts menu, there should be an option to add an account. This is commonly at the bottom of the menu. Presse it to start setting up.
3. Adding An Email Account
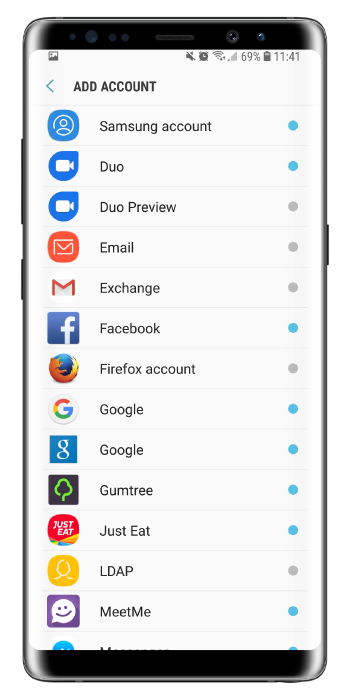
In the add account section, there should be an option called ‘Email’. Press email and you will be directed to a login page.
4. Starting The Setup Process
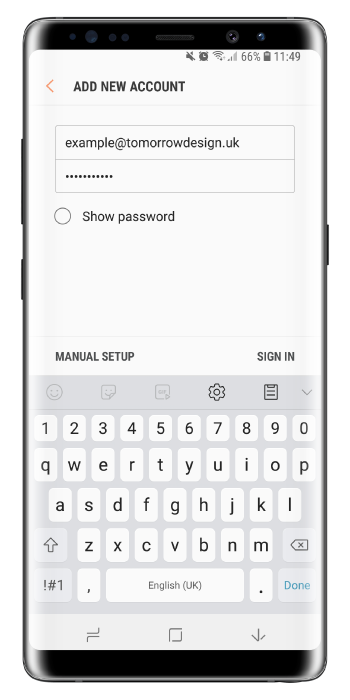
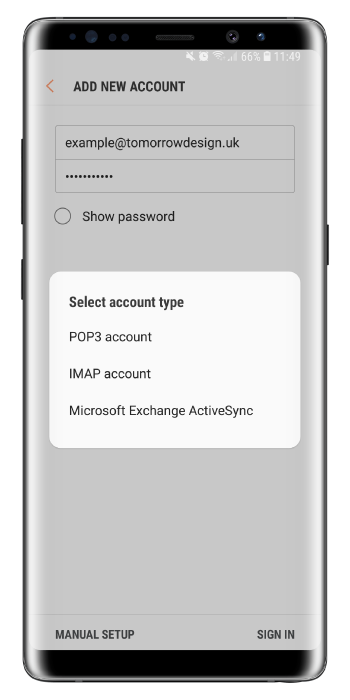
Enter the details of your email account like your email address and password. You should then press manual setup. A window will popup asking for your account type. Press the IMAP account option.
5. Server Settings
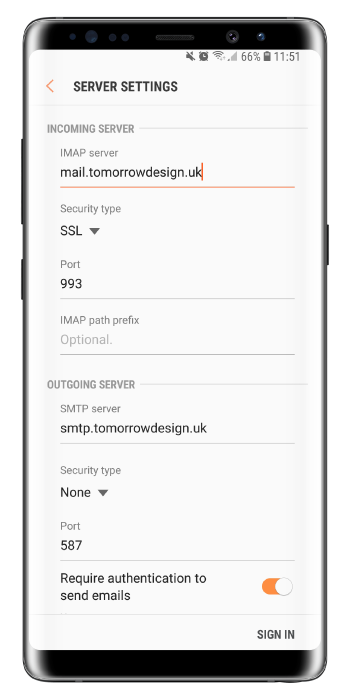
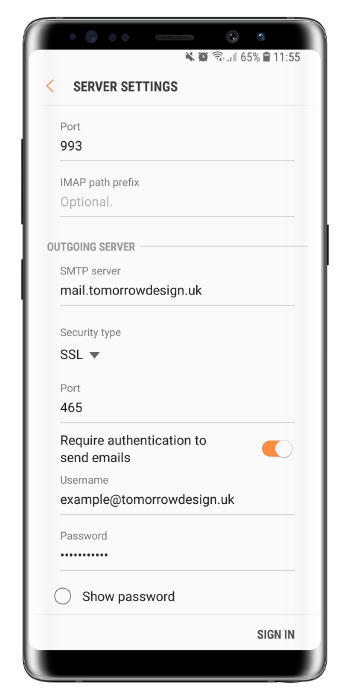
You will be directed to a section called server settings. This is where you will need to input some details. You will need
- Your IMAP server
- Incoming server port
- SMPT server
- Outgoing server port
- Your account username and password to authenticate.
Make sure in your incoming server options and your outgoing server options that the security type is set to SSL.
6. Finished
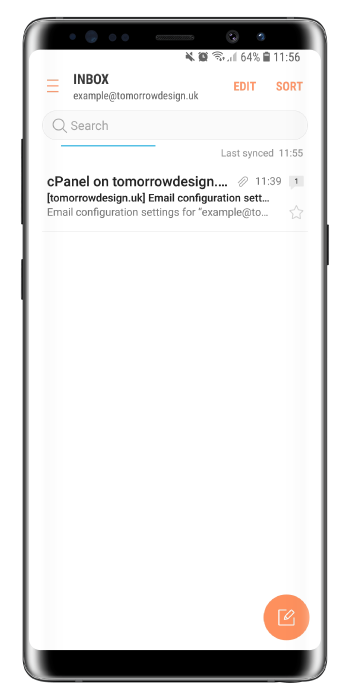
Your account should now be added and when you access the email app on your Android device, your account should be ready for use.
